
If you are installing electrical wires inside a conduit, you must make sure there is enough space for the wires. This is called conduit fill. It helps keep wires safe and makes them easier to install.
Learning how to calculate conduit fill is not difficult. In this guide, we will explain each step using simple words so anyone can understand, even if you are new to electrical work.
If you are not familiar with the basics, you can first read What Is Conduit Fill? to understand what conduit fill means and why it is important.
Why Do You Need to Calculate Conduit Fill?

Calculating conduit fill is important for every electrical installation. If too many wires are placed inside a conduit, they can become difficult to pull and may get damaged.
A proper conduit fill calculation helps you:
- Keep wires safe
- Prevent overheating
- Make wire pulling easier
- Follow electrical code requirements
- Make future repairs and upgrades easier
Taking a few extra minutes to calculate conduit fill can save time and money later.
What Information Do You Need Before You Start?
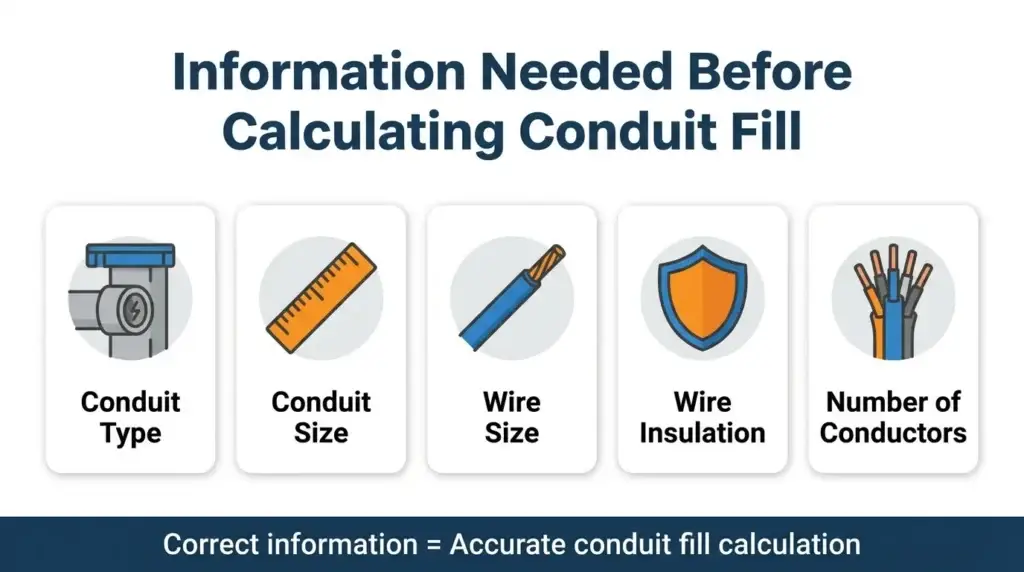
Before calculating conduit fill, you need a few details about your installation.
| Information | Example |
|---|---|
| Conduit Type | EMT |
| Conduit Size | 1 Inch |
| Wire Size | 12 AWG |
| Wire Type | THHN |
| Number of Conductors | 3 |
Having the correct information makes the calculation much easier and more accurate.
Step 1: Choose the Conduit Type
The first step is to choose the type of conduit you are using.
Some common conduit types include:
- EMT
- PVC
- RMC
- IMC
Each conduit type has a different inside diameter. Even if two conduits have the same trade size, their internal space may not be the same.
Always choose the correct conduit type before starting your calculation.
Step 2: Find the Wire Size
Next, find the size of the wires you will install.
Wire sizes are usually measured in:
- AWG (American Wire Gauge)
- kcmil (for larger conductors)
For example:
- 12 AWG
- 10 AWG
- 8 AWG
Larger wires take up more space inside the conduit.
Step 3: Count the Number of Conductors
Now count every conductor that will go inside the conduit.
For example:
- Hot wire
- Neutral wire
- Equipment grounding conductor (when applicable)
The total number of conductors affects the maximum fill percentage allowed.
Always count carefully before calculating.
Step 4: Find the Conductor Area
Every conductor has a cross-sectional area.
This area depends on:
- Wire size
- Insulation type
Even if two wires have the same size, different insulation types can make one wire larger than the other.
Larger conductors take up more space inside the conduit.
Step 5: Find the Conduit’s Internal Area
The next step is to find the available space inside the conduit.
This depends on:
- Conduit type
- Trade size
A larger conduit has more internal area, which allows it to hold more conductors safely.
Step 6: Compare with NEC Fill Limits
After finding the total conductor area, compare it with the maximum fill allowed by the National Electrical Code (NEC).
The general limits are:
| Number of Conductors | Maximum Fill |
|---|---|
| One | 53% |
| Two | 31% |
| Three or More | 40% |
These limits help keep enough empty space inside the conduit for safe installation and easier wire pulling.
If you want to understand why these percentages are important, read our guide on NEC Conduit Fill Rules Explained.
Example Conduit Fill Calculation
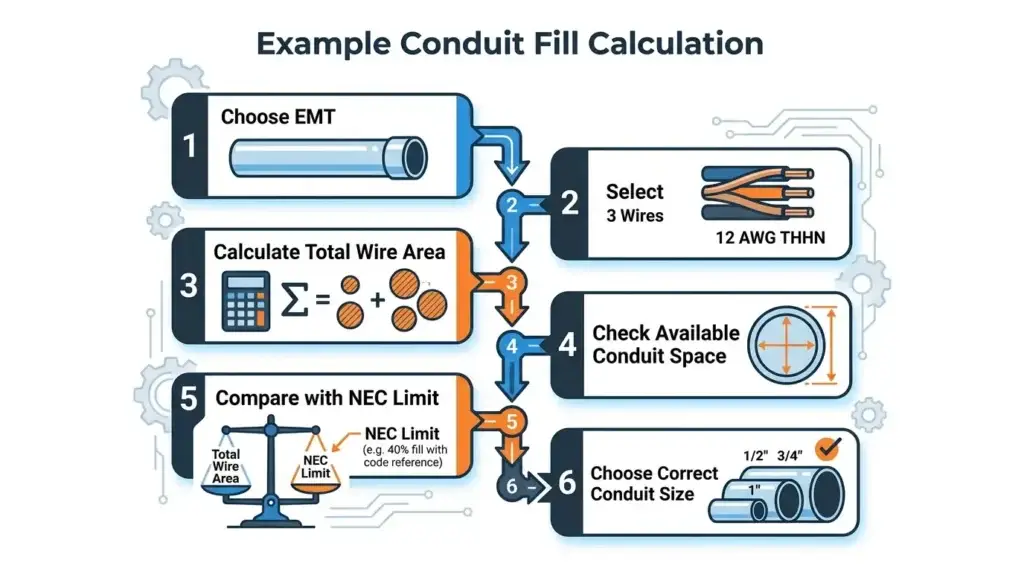
Let’s look at a simple example.
Suppose you have:
- EMT conduit
- Three 12 AWG THHN copper conductors
First, identify the conductor size and insulation.
Next, determine the total area of all three conductors.
Then, compare that total with the available area inside the selected EMT conduit.
If the total conductor area stays within the allowed fill percentage, the conduit size is correct. If it exceeds the limit, choose a larger conduit.
This simple process helps you avoid installation problems before you begin pulling wires.
Common Mistakes When Calculating Conduit Fill
Many beginners make small mistakes during conduit fill calculations.
Some common mistakes include:
- Choosing the wrong conduit type
- Selecting the wrong wire size
- Forgetting to count every conductor
- Ignoring insulation type
- Guessing instead of calculating
- Using incorrect conduit dimensions
Checking your information before starting can help you avoid these errors.
Use a Conduit Fill Calculator to Save Time
Manual conduit fill calculations can take time, especially when you have many conductors or different conduit types.
A conduit fill calculator makes the process much easier.
It can help you:
- Calculate fill percentage quickly
- Select the correct conduit size
- Reduce calculation mistakes
- Save time on every project
- Improve accuracy
You can use our free Conduit Fill Calculator to calculate conduit fill in seconds for different conduit types and conductor sizes.
Frequently Asked Questions
Conduit fill is the amount of space that electrical conductors take up inside a conduit.
It helps protect wires, makes installation easier, and supports safe electrical work.
No. Electrical codes limit how much of the conduit can be filled to help prevent installation and safety problems.
Yes. Different conduit types have different internal dimensions, which affect the available space for conductors.
Yes. Different insulation types have different outside diameters, so they can change the amount of space each conductor occupies.
An overfilled conduit can make wire pulling difficult, damage insulation, increase installation time, and may not meet electrical code requirements.
Conclusion
Learning how to calculate conduit fill is an important skill for anyone working with electrical installations. By choosing the correct conduit type, finding the right wire size, counting all conductors, and following the allowable fill limits, you can create a safer and more reliable installation.
While you can calculate conduit fill by hand, using a reliable calculator makes the job much faster and helps reduce mistakes. Whether you are an electrician, apprentice, contractor, or homeowner, taking the time to calculate conduit fill correctly is always a smart choice.